Preparing for a Long-Lasting Finish: How To Keep Painted Cabinets From Chipping

Yo, so you wanna keep those cabinets looking fresh? Before you even think about grabbing the paintbrush, you gotta get that surface ready for a bomb finish that’ll last. It’s all about prep, my dude.
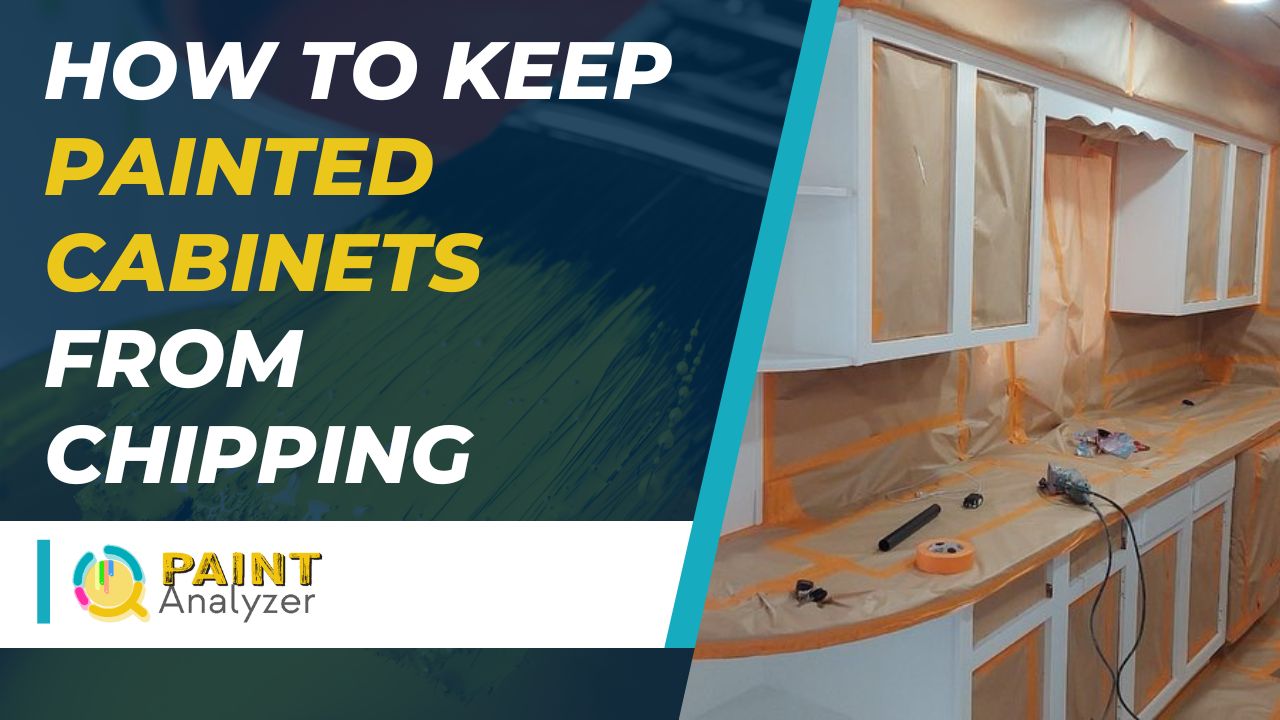
Surface Preparation
Proper surface preparation is like the foundation of a house – it’s the key to a solid, lasting paint job. You gotta make sure the surface is clean, smooth, and ready to accept the paint.
- Clean It Up: Start by wiping down your cabinets with a mild detergent and water. Get rid of any dust, grime, grease, or old wax. You want a clean slate, bro.
- Sand It Down: Next, sand the surface with fine-grit sandpaper. This helps create a smooth surface for the paint to adhere to. If there are any rough spots or imperfections, use a sanding block to even them out.
- Fill It In: If there are any cracks, holes, or scratches, use wood filler to fill them in. Let it dry completely before sanding it smooth.
Primer: The Glue for Your Paint
Think of primer as the glue that helps your paint stick to the surface. It creates a smooth, even base for the paint to adhere to, preventing it from chipping or peeling.
Types of Primers for Cabinets
There are different types of primers out there, each with its own strengths.
- Adhesion Primer: This type of primer is great for surfaces that are difficult to paint, like glossy or slick surfaces. It helps the paint stick better.
- Oil-Based Primer: This primer is durable and provides a good barrier against moisture. It’s ideal for cabinets that are exposed to moisture or high humidity.
- Acrylic Primer: This type of primer is water-based and dries quickly. It’s a good choice for cabinets that are in a well-ventilated area.
Applying Primer Like a Pro
- Choose Your Weapon: Select a primer that’s suitable for your cabinets and the type of paint you’re using.
- Protect Yourself: Wear a mask, gloves, and eye protection to keep yourself safe.
- Stir It Up: Stir the primer thoroughly before using it.
- Thin It Out: If the primer is too thick, you can thin it out with a little bit of water or thinner, depending on the type of primer.
- Apply Evenly: Use a brush, roller, or spray gun to apply the primer in thin, even coats. Make sure to cover all surfaces, including the edges and corners.
- Let It Dry: Allow the primer to dry completely before applying the paint.
Choosing the Right Paint
Choosing the right paint is crucial for achieving a durable and beautiful finish on your cabinets. It’s not just about picking a color you like; it’s about selecting a paint that will withstand the daily wear and tear of a busy kitchen.
Types of Paint for Cabinets
Different types of paint are designed for different applications, and cabinets require a specific type that offers durability and resistance to chipping. Here’s a breakdown of common options:
- Acrylic Latex Paint: This is a popular choice for cabinets due to its ease of application, quick drying time, and low odor. It’s also water-based, making cleanup a breeze. However, it may not be as durable as other options, especially in high-traffic areas.
- Oil-Based Alkyd Paint: This type of paint offers superior durability and resistance to chipping, making it ideal for high-use cabinets. It also provides a smoother finish than latex paint. However, it has a strong odor, requires mineral spirits for cleanup, and takes longer to dry.
- Epoxy Paint: Known for its extreme durability and resistance to chemicals, epoxy paint is a great option for cabinets that see heavy use, such as those in a commercial kitchen. It’s also highly resistant to moisture and stains. However, it can be more challenging to apply than other types of paint.
Benefits of High-Quality Paint
Investing in high-quality paint is essential for a long-lasting finish. Here’s why:
- Increased Durability: High-quality paints contain higher concentrations of pigments and resins, making them more resistant to chipping, scratching, and fading.
- Smoother Finish: Better-quality paints flow more easily, resulting in a smoother, more even finish that is less prone to imperfections.
- Better Coverage: High-quality paints typically offer better coverage, requiring fewer coats to achieve the desired color and opacity.
Using the Right Paint Thinner and Application Techniques
The right paint thinner is crucial for achieving a smooth, even finish. It helps to thin the paint to the correct consistency for application and allows it to flow more easily. The type of thinner you need depends on the type of paint you’re using. For example, oil-based paints require mineral spirits, while latex paints can be thinned with water.
- Use a High-Quality Brush or Roller: A good brush or roller will help to distribute the paint evenly and create a smooth finish.
- Apply Thin Coats: Applying thin coats of paint is better than applying thick coats, which can lead to drips and uneven coverage.
- Allow Adequate Drying Time: Make sure to allow each coat of paint to dry completely before applying the next coat.
Selecting the Right Paint Sheen
Paint sheen refers to how shiny or matte the paint finish is. Different sheens offer different levels of durability and aesthetics.
- Matte: This finish has no shine and hides imperfections well. However, it’s more susceptible to stains and scuffs.
- Eggshell: This finish has a slight sheen, offering a balance between durability and hiding imperfections. It’s a popular choice for cabinets.
- Satin: This finish has a medium sheen, making it more durable than matte or eggshell. It’s also easier to clean.
- Semi-Gloss: This finish has a high sheen, making it very durable and easy to clean. It’s often used in kitchens and bathrooms.
- Gloss: This finish has the highest sheen, offering maximum durability and a reflective surface. It’s often used on trim and doors.
Applying Paint Like a Pro

The way you apply paint is crucial for a smooth, durable finish on your cabinets. Just like a pro, you need to choose the right tools and techniques to get the job done right. It’s not just about slapping on some paint; it’s about precision and care.
Using the Right Tools
The tools you use play a big role in how your paint turns out. Different tools are better suited for different tasks.
- Brushes: For detailed work, like getting into corners and around trim, a good quality brush is your best friend. Choose a brush with synthetic bristles for latex paint, or natural bristles for oil-based paint.
- Rollers: Rollers are great for covering large areas quickly and evenly. For cabinets, a 4-inch roller is ideal. Choose a roller with a nap that’s appropriate for the paint’s thickness and the surface you’re painting.
- Sprayers: If you’re aiming for a super smooth, professional-looking finish, a sprayer is your go-to tool. But be warned, it’s a bit more advanced. A sprayer requires practice and careful preparation to avoid overspray and drips.
Applying Paint Evenly, How to keep painted cabinets from chipping
Here’s where the magic happens. You want to apply paint evenly, avoiding brush strokes or roller marks. This takes practice, but here’s how to do it like a pro:
- Thin Coats: Don’t try to get full coverage with one thick coat. Thin coats are the key to a smooth finish. Apply multiple thin coats, allowing each coat to dry completely before applying the next.
- Brush Strokes: When using a brush, use long, smooth strokes, overlapping each stroke by about 50%. Avoid going back over the same area multiple times, as this can lead to brush marks.
- Roller Marks: When using a roller, apply paint in a “W” pattern. This helps to avoid roller marks and ensures even coverage.
Drying Time and Smoothness
Let’s talk about patience. Paint needs time to dry properly for a smooth and durable finish.
- Drying Time: Always follow the manufacturer’s instructions for drying time. This will vary depending on the type of paint and the temperature and humidity of the room.
- Smooth Finish: After each coat dries, lightly sand the surface with fine-grit sandpaper. This will help to smooth out any imperfections and create a perfectly smooth finish.
Clean Lines and Preventing Drips
You don’t want paint dripping down your cabinets, ruining your hard work. Here’s how to keep things clean and prevent drips:
- Masking Tape: Use masking tape to protect areas you don’t want to paint, like trim, hardware, or walls.
- Drop Cloths: Cover the floor and surrounding areas with drop cloths to protect them from paint spills.
- Slow and Steady: Don’t rush the painting process. Apply paint slowly and evenly, and don’t overload your brush or roller.
How to keep painted cabinets from chipping – Listen, if you’re worried about your painted cabinets chipping, maybe it’s time to consider upgrading to some serious, long-lasting doors. You know, the kind that don’t need a constant manicure? Check out quality one cabinet doors – they’re built to last, so you can finally say goodbye to chipped paint and hello to a kitchen that actually stays put! And if you’re still determined to paint, at least use a good primer – it’s like the foundation of a beautiful, chip-free life for your cabinets.
Okay, so you’ve got these gorgeous painted cabinets, but they’re starting to chip? First, you need to be gentle with them, like a baby bird. Then, consider adding some cabinet door bumpers to prevent that annoying slamming that chips the paint.
You can find some great ideas on how to stop kitchen cabinet doors from slamming. Once you’ve got the slamming under control, you’ll be well on your way to keeping those cabinets looking pristine!

